
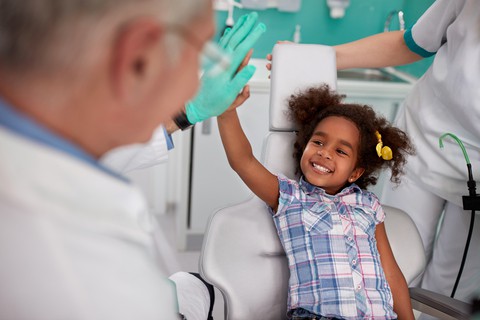
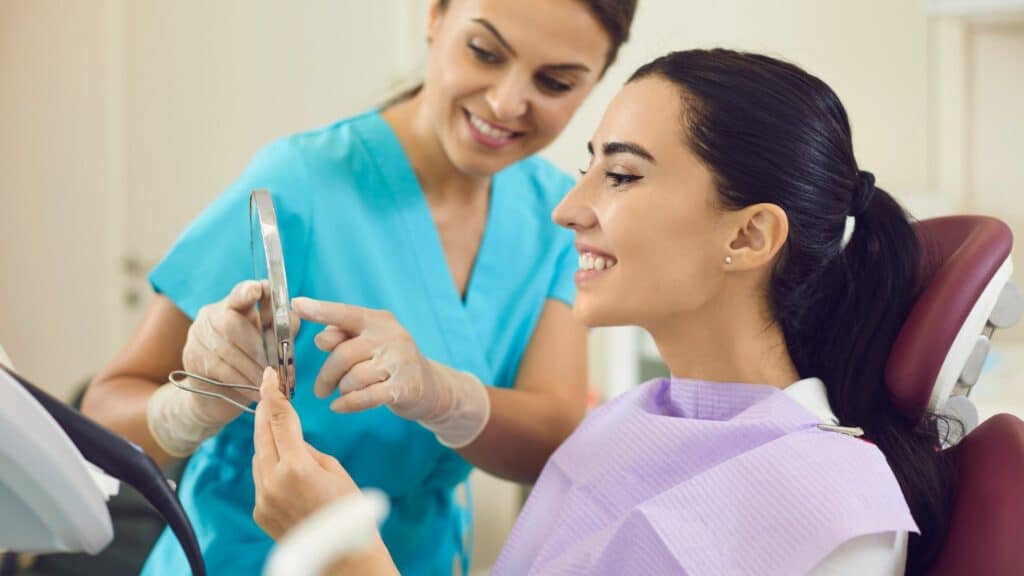
Are you searching for a dentist in Owings Mills, Maryland who can give you a picture-perfect smile? Look no further! At Toothfully Yours, we specialize in creating dazzling smiles that will leave you feeling confident and camera-ready. Our team of highly skilled dentists are committed to providing exceptional dental care in a comfortable and friendly environment.
Using the latest advancements in dental technology, we offer a wide range of services to meet all of your oral health needs. From routine check-ups and cleanings to advanced cosmetic procedures, we have the expertise to deliver outstanding results. Whether you’re looking to brighten your smile with professional teeth whitening or straighten your teeth with Invisalign, our team will work closely with you to create a personalized treatment plan that suits your unique goals and desires.
Customer satisfaction is our top priority, and we strive to exceed your expectations at every visit. Our warm and welcoming staff will make you feel right at home from the moment you step through our doors. Don’t settle for anything less than the best dentist in Owings Mills, Maryland. Schedule a consultation with us today and let us give you the picture-perfect smile you’ve always dreamed of!
Importance of a picture-perfect smile
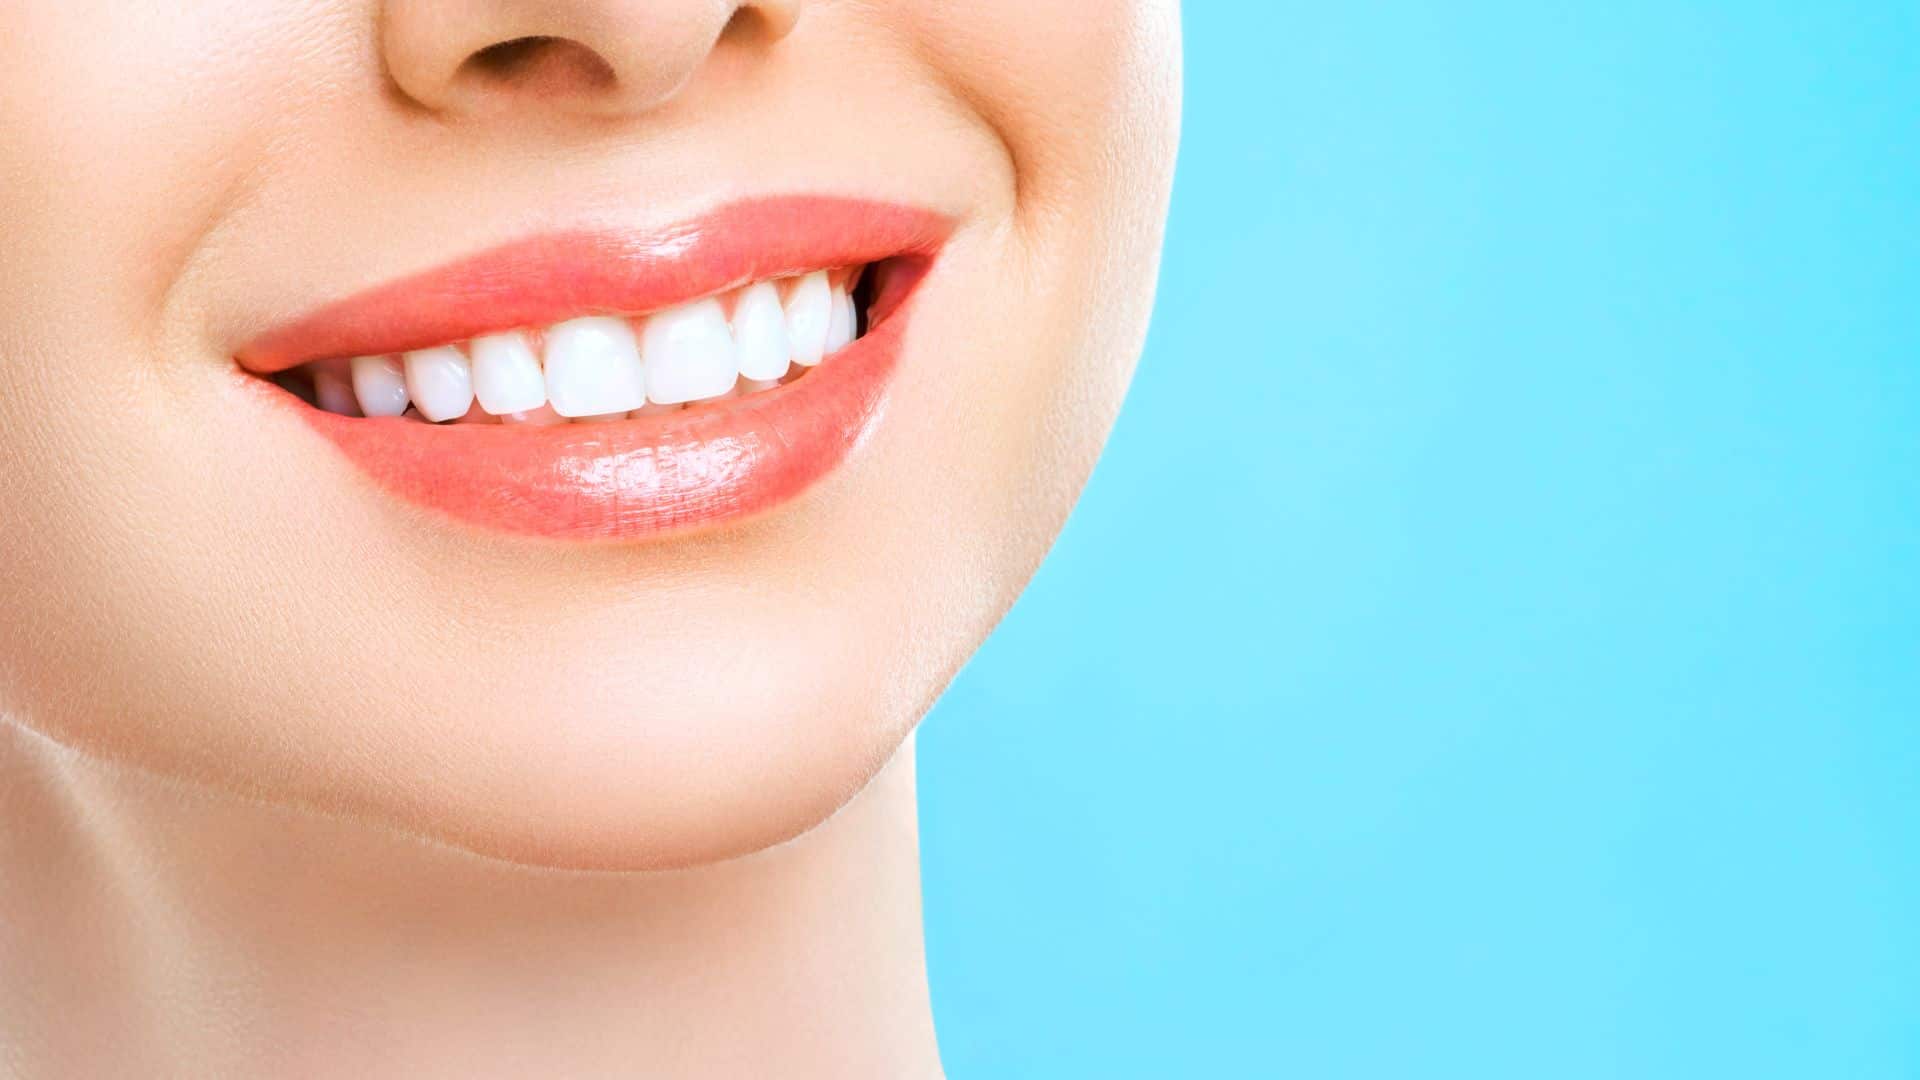
A picture-perfect smile is more than just a cosmetic feature. It has a significant impact on your overall well-being and self-confidence. Studies have shown that a beautiful smile can enhance your social interactions, improve your professional success, and even boost your mood.
When you have a smile you’re proud of, you’ll feel more confident in social situations. Whether it’s attending a party, going on a date, or simply hanging out with friends, a dazzling smile can help you make a positive impression. It can also improve your self-esteem, allowing you to feel more comfortable and at ease in your own skin.
In addition to the social benefits, a picture-perfect smile can also have a positive impact on your professional life. When you have a confident smile, it can help you project an image of competence and professionalism. This can be particularly beneficial in careers that require frequent interactions with clients or customers.
Furthermore, research has shown a link between a beautiful smile and improved mood. When you’re happy with your smile, it can have a positive effect on your overall well-being. Smiling releases endorphins, which are natural mood enhancers, and can help reduce stress and anxiety.
At Toothfully yours, we understand the importance of a picture-perfect smile and its impact on your life. That’s why we are dedicated to providing top-quality dental care to help you achieve the smile of your dreams.
Services offered at Dazzling Smiles Dentistry
At Toothfully Yours, we offer a comprehensive range of dental services to cater to all your oral health needs. Our team of experienced dentists and specialists are committed to delivering exceptional results, using state-of-the-art technology and techniques. Here are some of the services we offer:
Routine check-ups and cleanings
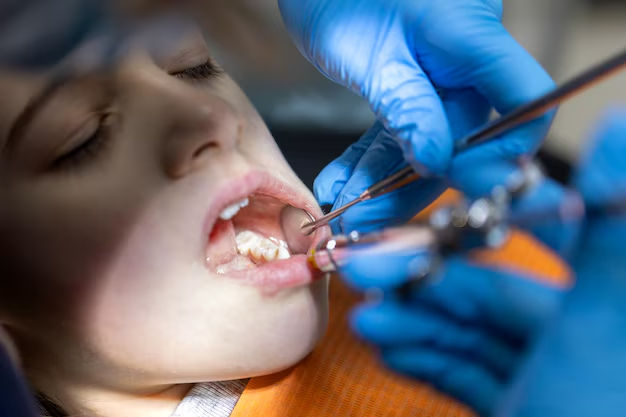
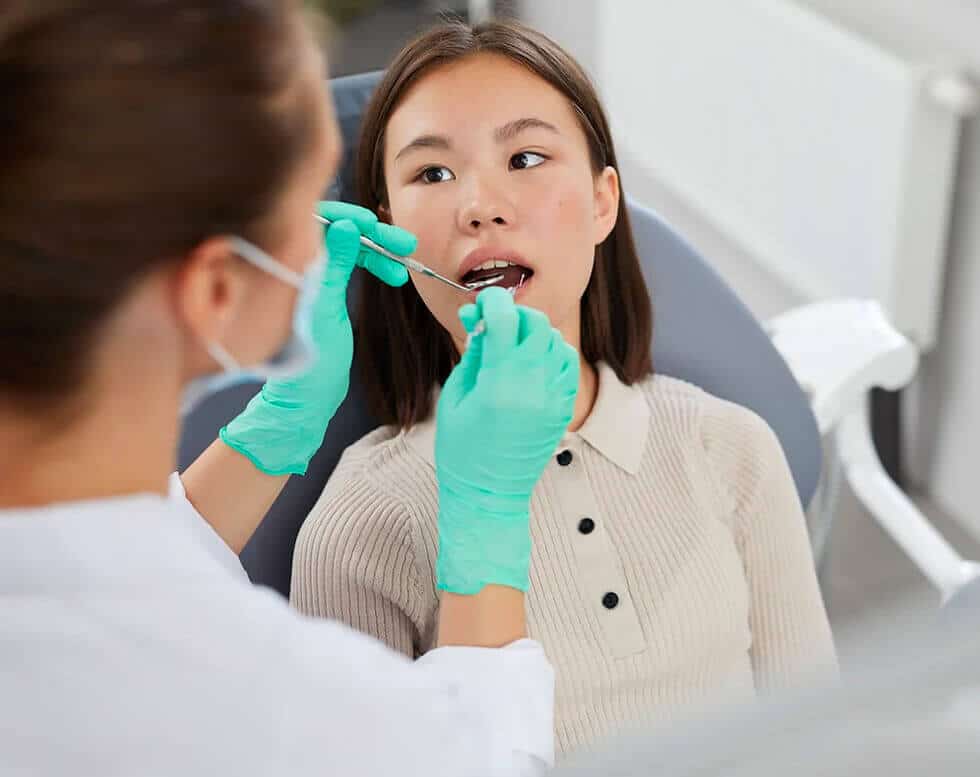
Regular dental check-ups and cleanings are essential for maintaining good oral health. Our skilled team will thoroughly assess your teeth and gums, looking for any signs of decay, gum disease, or other dental issues. We will also provide a professional cleaning to remove plaque and tartar buildup, ensuring your teeth stay healthy and cavity-free.
Cosmetic dentistry
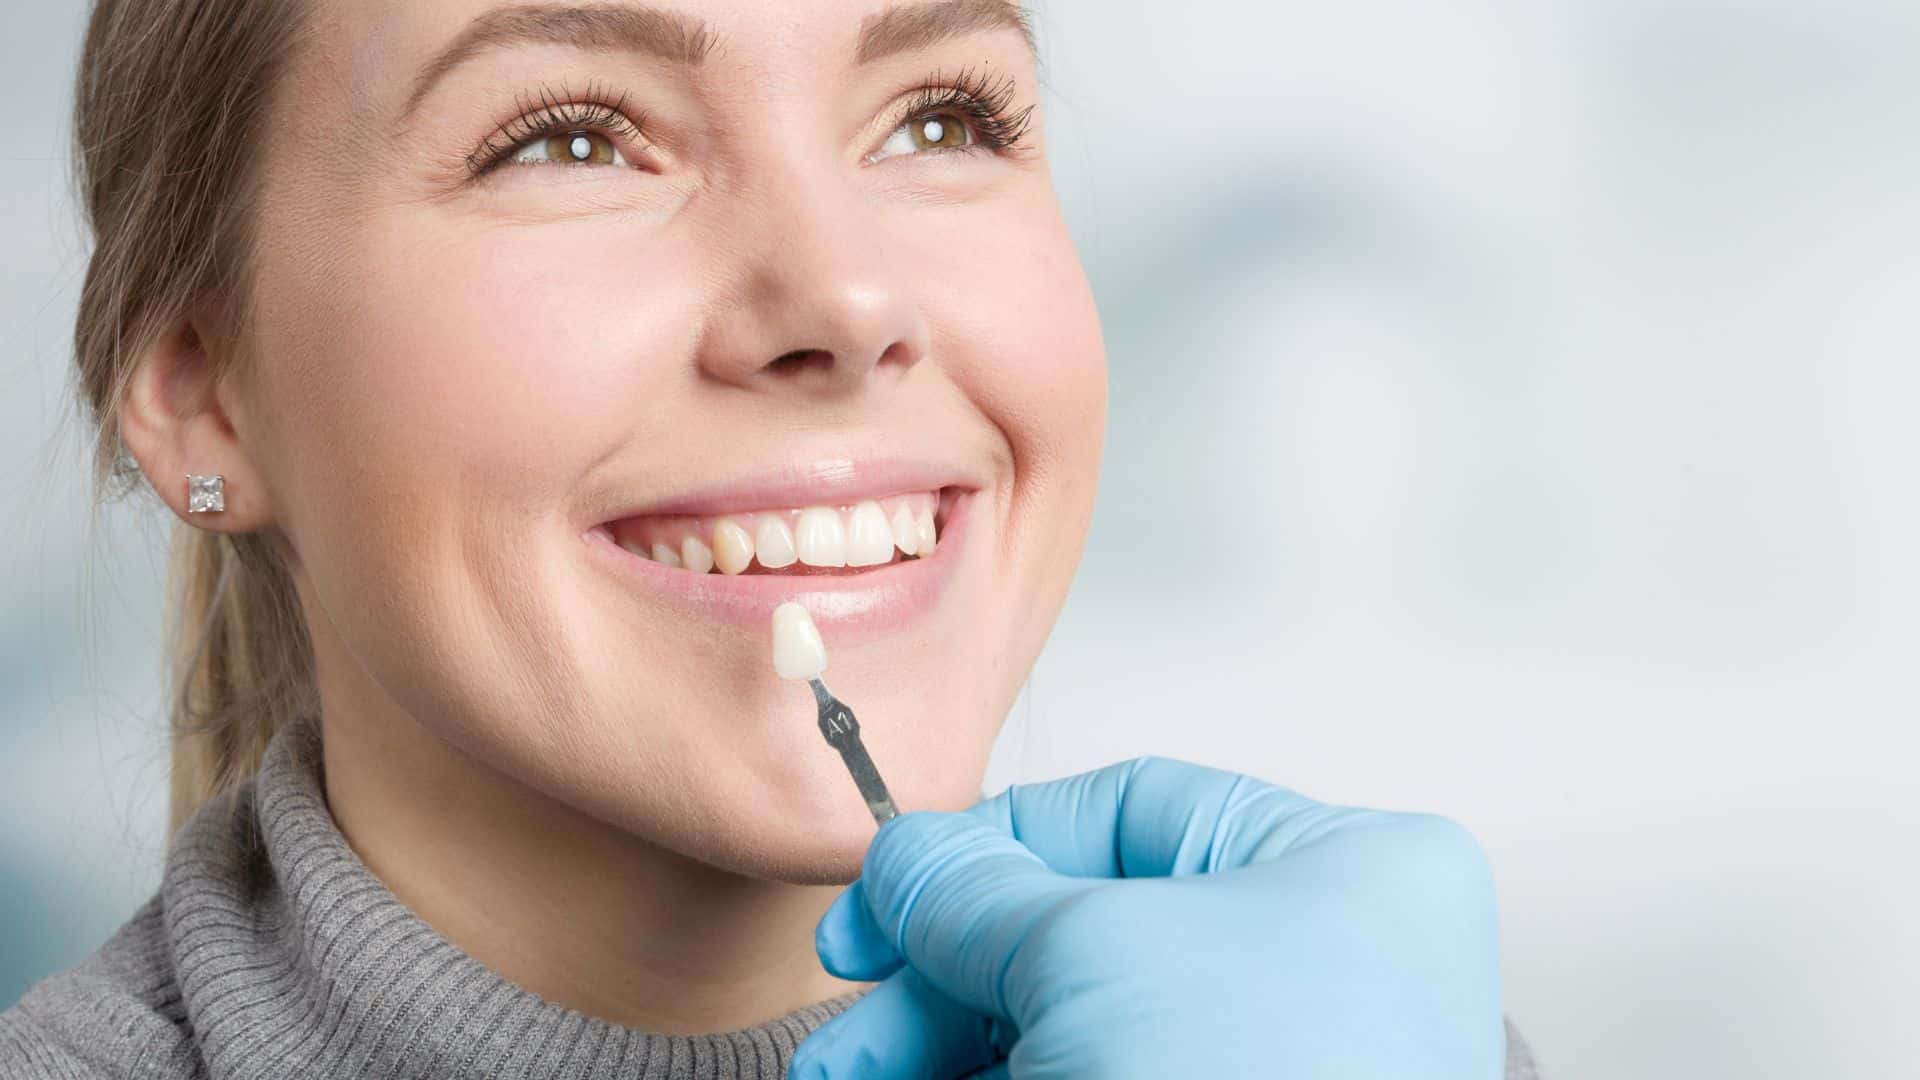
If you’re looking to enhance the appearance of your smile, our cosmetic dentistry services can help. We offer a variety of treatments to address common aesthetic concerns, such as teeth whitening, dental veneers, and tooth-colored fillings. Our skilled dentists will work with you to create a personalized treatment plan that will give you the beautiful smile you’ve always wanted.
Orthodontics
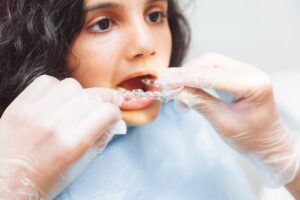
Crooked or misaligned teeth can not only affect your appearance but also impact your oral health. At Toothfully Yours, we offer orthodontic treatments, including traditional braces and Invisalign, to straighten your teeth and improve your bite. Our orthodontists will assess your specific needs and recommend the most suitable treatment option for you.
Restorative dentistry
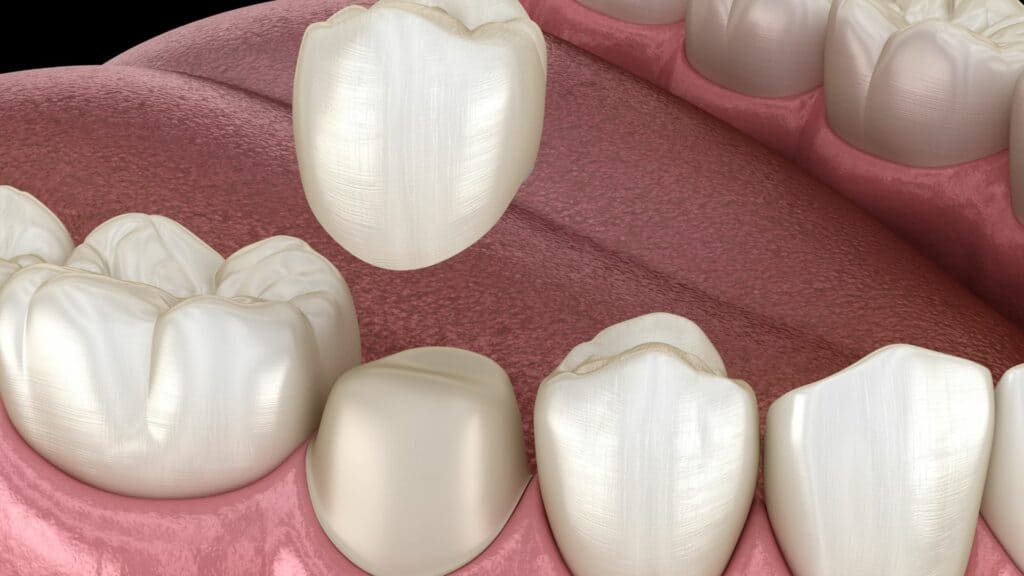
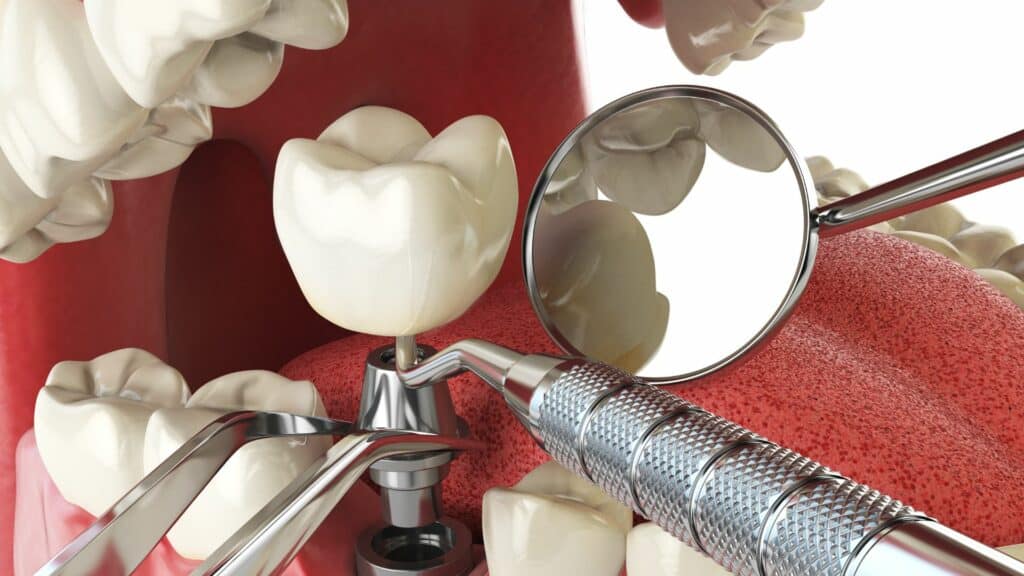
If you have missing or damaged teeth, our restorative dentistry services can help restore your smile and functionality. We offer dental implants, crowns, bridges, and dentures to replace missing teeth and improve your oral health. Our dentists will carefully assess your situation and recommend the best restorative solution for you.
Oral surgery
In some cases, oral surgery may be necessary to address complex dental issues. Our skilled oral surgeons can perform procedures such as tooth extractions, dental implant placement, and jaw surgery. We utilize advanced surgical techniques and technology to ensure your comfort and deliver optimal results.
Meet the team of dentists
At Toothfully Yours, we have a team of highly skilled and experienced dentists who are passionate about providing exceptional dental care. Our dentists have undergone rigorous training and stay up-to-date with the latest advancements in dentistry. They are committed to delivering outstanding results and ensuring your comfort throughout your dental journey.
Dr. Soni, our leading dentist, has over 10 years of experience in the field. She is known for his/her expertise in cosmetic dentistry and has transformed the smiles of numerous patients. Dr. Soni takes a personalized approach to each patient, understanding their unique goals and concerns, and developing tailored treatment plans to achieve optimal results.
In addition to Dr. Soni, our team consists of skilled general dentists, orthodontists, periodontists, and oral surgeons. Each member of our team brings their own expertise and passion to provide comprehensive dental care for our patients.
Advanced technology and techniques used
At Toothfully Yours, we are committed to utilizing the latest advancements in dental technology and techniques. We believe that staying at the forefront of dentistry allows us to deliver superior results and enhance the patient experience. Here are some of the advanced technologies and techniques we employ:
Digital imaging
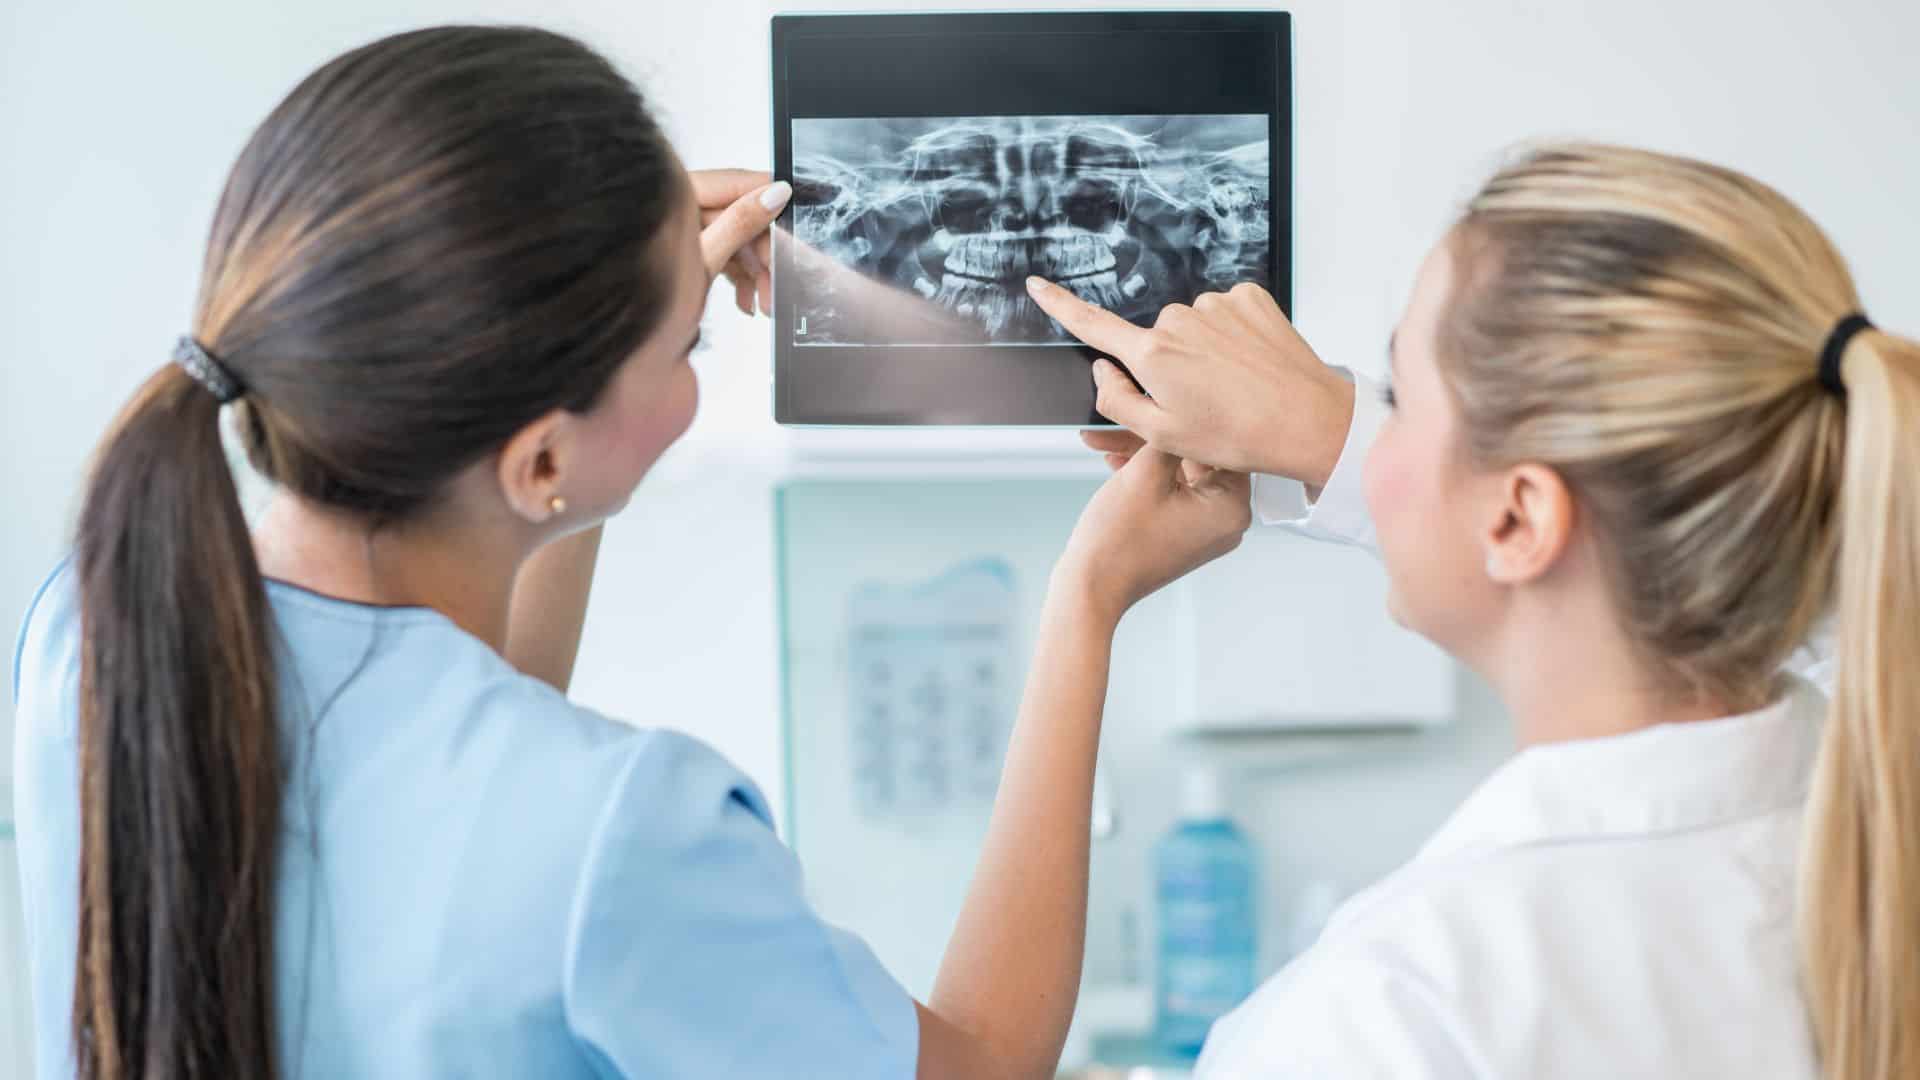
We use digital imaging technology, such as X-rays and 3D imaging, to obtain accurate and detailed images of your teeth and oral structures. This allows us to diagnose dental issues more effectively and plan treatments with precision.
Intraoral cameras
Intraoral cameras allow us to capture high-resolution images of your teeth and gums. This helps us identify dental problems that may not be visible to the naked eye, enabling us to provide early intervention and prevent further damage.
Laser dentistry
Laser dentistry offers a minimally invasive and precise approach to various dental procedures. It can be used for gum reshaping, removing tooth decay, and treating gum disease. Laser dentistry provides faster healing times and reduces discomfort during treatment.
CAD/CAM technology
CAD/CAM technology allows us to create precise and custom-made dental restorations, such as crowns and veneers, in a single visit. This eliminates the need for temporary restorations and multiple appointments, saving you time and ensuring optimal fit and aesthetics.
Patient testimonials and success stories
At Toothfully Yours, we are proud of the positive impact we have made on our patients’ lives. Our patients’ satisfaction and the stunning transformations they have achieved are a testament to our commitment to excellence. Here are some testimonials from our satisfied patients:
– “The customer service impeccable, clean, sanitized environment. Not a long wait. Dr. Pooja Soni chair side manner and professionalism deserves 5 stars. BTW I am one who don’t do pain at all. They made me feel comfortable and welcomed. I recommend highly.” – L. Candace Easterling-Hill
– “Wow!! What an incredible experience!!! For a dentist yet!!! Very very friendly, accommodating, clean, understanding and gentle.. I could go on and on… I was a walk in and the doctor was so warm and understanding. And took a look right away!! The staff was amazing! I wish i could give them 10 stars or more as that’s what they deserve!” – Accski01
– “Dr.Soni is the best in the area. she’s personable professional. The equipment in the office is up-to-date. Her process is so modern streamline. She discusses everything with you regarding billing so you’re not leaving the office feeling like you don’t know how much you owe how much is gonna cost. My entire household uses this office. highly recommend plus there’s a massage chair.” – Tiffany Perreira
Location and contact information
Toothfully Yours is conveniently located in Owings Mills, Maryland. Our address is 10999 Red Run Blvd suite 208, Owings Mills, MD 21117. If you have any questions or would like to schedule a consultation, our friendly staff is here to assist you. You can reach us at (410) 630-0000 or email us at [email protected]. We look forward to welcoming you to our practice!
Insurance and payment options
At Toothfully Yours, we believe that exceptional dental care should be accessible to everyone. We accept a wide range of insurance plans and will work with you to maximize your benefits. Our knowledgeable team will help you navigate the insurance process and ensure you receive the coverage you are entitled to.
For patients without insurance, we offer flexible payment options to make your dental treatment affordable. We accept major credit cards, and we also offer financing options to help you manage the cost of your care. Our team will be happy to discuss the payment options available to you and find a solution that fits your budget.
Tips for maintaining a healthy and beautiful smile
While our team at Toothfully Yours is here to help you achieve and maintain a picture-perfect smile, there are also steps you can take at home to ensure optimal oral health. Here are some tips for maintaining a healthy and beautiful smile:
1. Brush your teeth at least twice a day with a fluoride toothpaste.
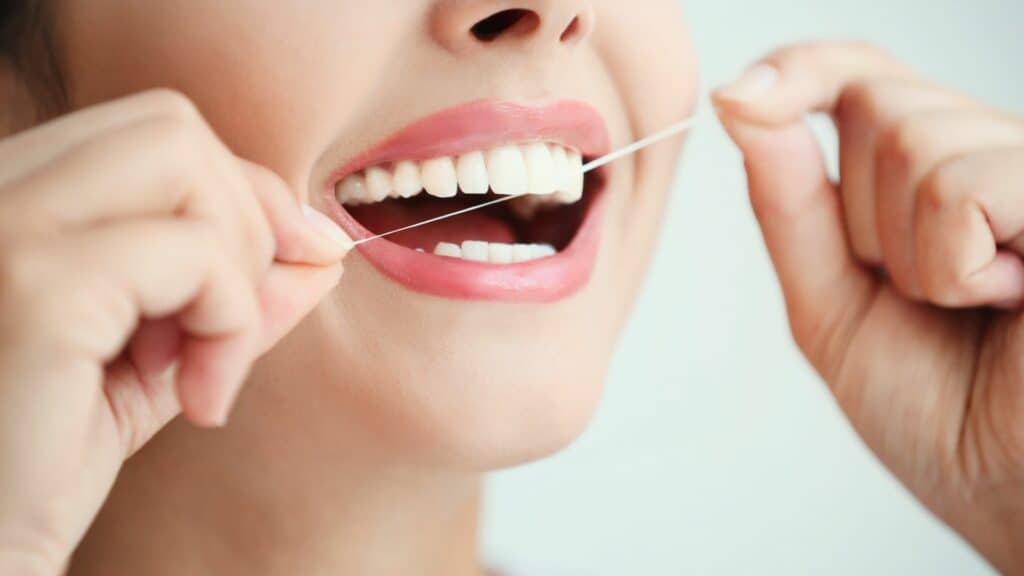
2. Floss daily to remove plaque and food particles from between your teeth.
3. Limit sugary and acidic foods and beverages, as they can contribute to tooth decay.
4. Avoid smoking and excessive alcohol consumption, as they can stain your teeth and increase the risk of oral health problems.
5. Wear a mouthguard when participating in sports or other activities that may pose a risk to your teeth.
6. Visit your dentist regularly for check-ups and cleanings to catch any potential dental issues early and prevent further damage.
By following these simple tips and maintaining a good oral hygiene routine, you can keep your smile healthy and radiant in between dental visits.
Saturday appointments and what to look for in a dentist
Weekday schedules don’t suit everyone, so Toothfully Yours offers full-day Saturday appointments for care ranging from emergency visits to cosmetic treatments. When you compare dentists in Owings Mills, a few practical points make a real difference:
- Insurance: confirm the office accepts your plan, since networks change.
- Services: check that preventive, cosmetic, orthodontic and urgent care are all covered.
- Technology: modern imaging makes diagnosis more precise and visits more comfortable.
- Location and hours: convenient scheduling makes regular visits easier to keep.
Teeth whitening: in-office or take-home
Our whitening options suit different timelines. Choose based on how quickly you want results and how much time you can commit:
- In-office whitening: usually about an hour or two in the chair. We protect your gums, apply professional-strength gel, and many patients see a visibly brighter smile after one visit.
- Custom-tray take-home kits: trays made from impressions of your teeth hold the gel evenly against your teeth and away from your gums. Results build gradually over one to two weeks.
Temporary sensitivity can occur, and whitening does not change the color of fillings, crowns or veneers. We examine your teeth and gums first so we can recommend the safest option.
Dental emergencies: what to do and what to tell us
A toothache, cracked tooth or injury to the mouth should not wait. Call us, describe what happened, and we will tell you how quickly to come in and what to do until then.
It helps to have ready:
- Your main symptom and when it started
- How the pain or injury began, and which tooth is affected
- Your insurance details and current medications
If a tooth has been knocked out or pushed out of position, tell us right away. For injuries involving the head, neck or breathing, call 911 first and contact us about the tooth afterward.