








Dental veneers are one of the most common cosmetic dentistry treatments available today. These custom-made shells fit over the front surfaces of your teeth and can conceal cracks, chips, stains, and other cosmetic imperfections. If you are thinking about improving your smile with veneers, understanding the dental veneer procedure steps can help you feel prepared and confident before you sit in the dental chair.
The process is not a single appointment. It is a series of well-defined steps that your dentist follows to create a natural-looking result. While the exact sequence can vary slightly from one dental practice to another, the core procedure remains consistent. Here is what you can expect from the initial consultation through the final placement of your veneers.
What Are Dental Veneers?
Dental veneers are thin, custom-made shells designed to cover the front-facing surface of a tooth. They are a popular choice in cosmetic dentistry because they address multiple concerns at once. Veneers can camouflage chipped or broken teeth, close gaps in your smile, mask tooth discoloration or stains, reshape misshapen teeth, and make teeth that are too small appear more proportionate.
There are several types of veneers available, depending on your specific goals and your dentist’s recommendation. Because veneers are custom-made for each patient, the procedure begins long before the actual placement. Every step, from the first conversation to the final polish, is planned around your unique smile.
Step 1: Initial Consultation and Evaluation
The dental veneer procedure always begins with a consultation. During this visit, your dentist will evaluate your teeth and discuss what you hope to achieve. This is the time to determine the cause of the dental issue you want to address, whether it is staining, a chipped tooth, a gap, or another cosmetic concern. Identifying the underlying cause helps your dentist decide whether veneers are the right treatment for you.
Your dentist will also determine whether you are a good candidate for veneers. This evaluation typically includes an examination of your teeth and gums, along with a review of your oral health history. If you are a candidate, your dentist can begin planning the next steps. The consultation is also a practical moment to discuss the financial side of treatment, so you understand the investment before moving forward.

Step 2: Smile Design and Shade Selection
Once your dentist confirms that veneers are right for you, the design phase begins. Many dental practices use pictures and tooth impressions to create a wax-up, which is a model of how your final smile will look. The wax-up gives you a preview of the proposed result and allows you to approve the shape and position of your veneers before any work is done.
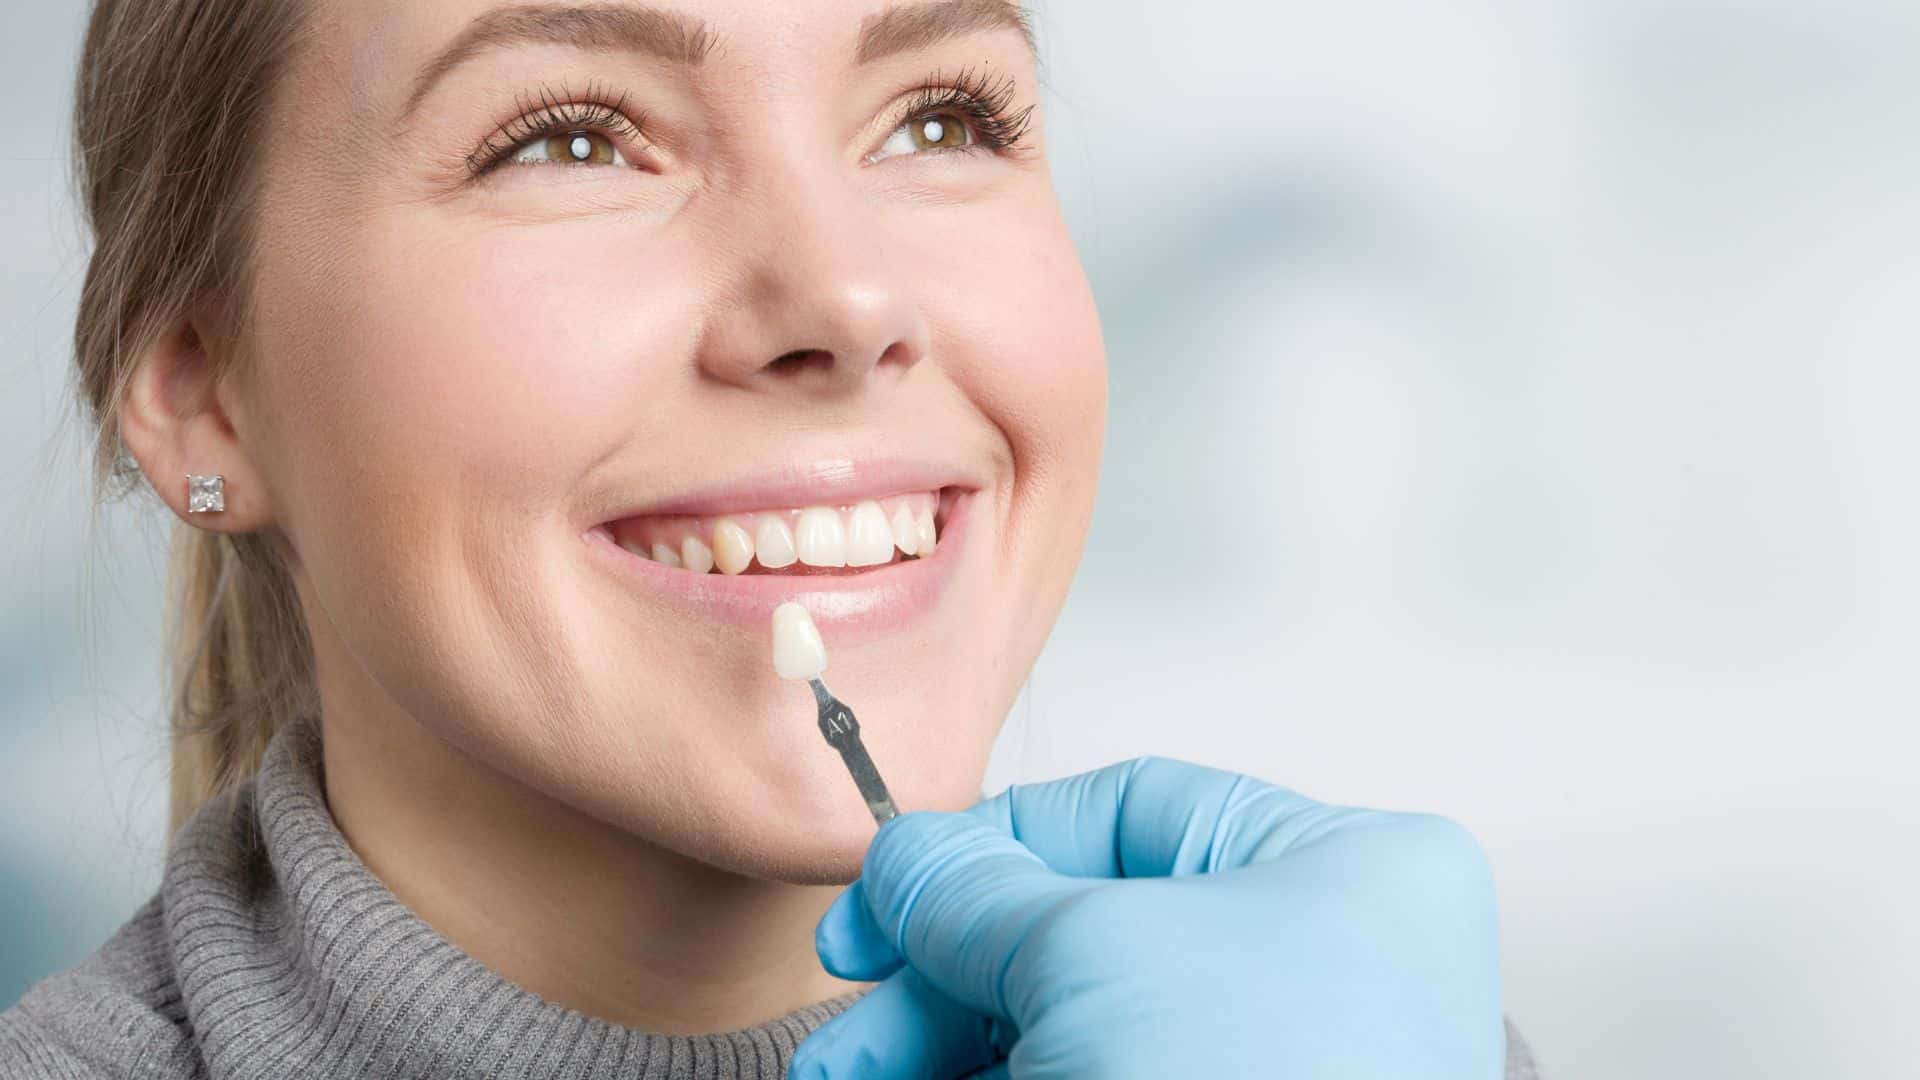
During this step, you will also choose the shade of your veneers. Shade selection is an important part of the process because it determines how bright or natural your smile will appear. Your dentist will help you select a shade that complements your facial features and matches the look you want to achieve. This is your chance to give input, so the final result feels like your smile, only improved.
Step 3: Tooth Preparation
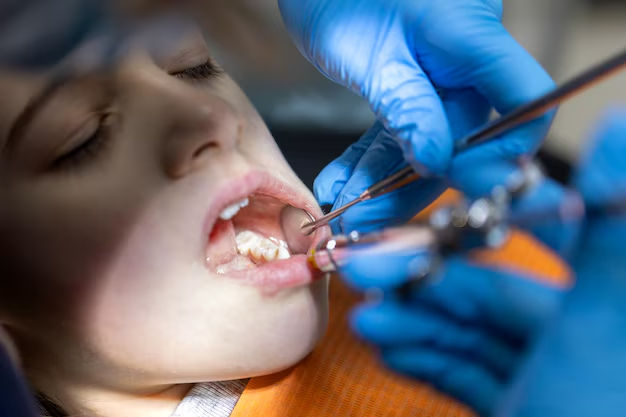
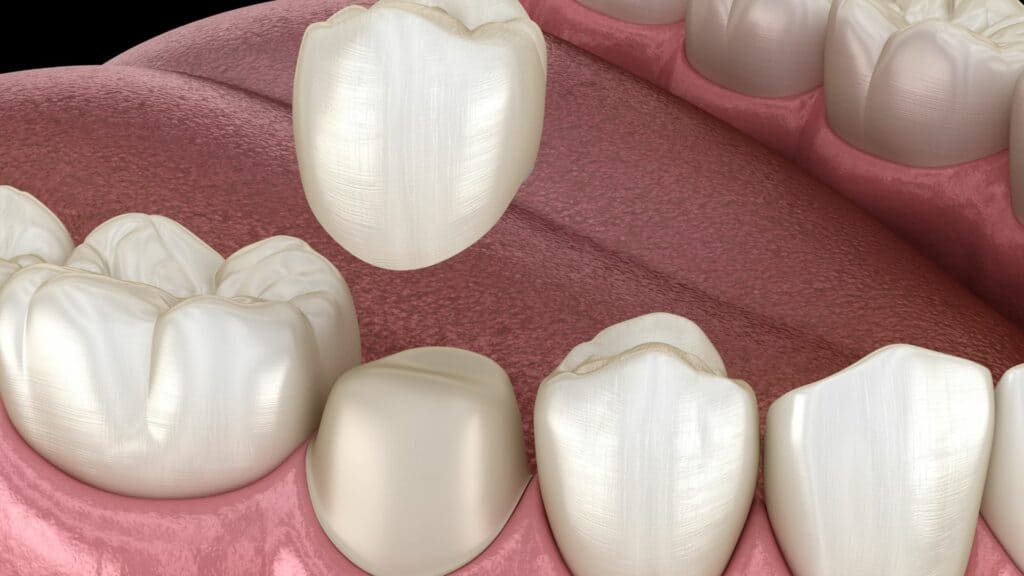
Tooth preparation is where the dental veneer procedure steps shift from planning to action. To make room for the veneer, your dentist will remove small amounts of enamel from the front surface of the teeth being treated. This is a careful process, but it is necessary so the veneer sits flush with your natural teeth rather than looking bulky.
The amount of enamel removed is typically minimal, and it is done with care to protect the health of your tooth. After the enamel is shaped, the surface is cleaned, polished, and etched. Etching creates a slightly rough texture on the tooth, which helps the veneer bond securely. This preparation is essential for a strong and long-lasting result.
Step 4: Taking Impressions
After your teeth are prepared, your dentist will take impressions of your teeth. These impressions are used to create veneers that fit your teeth precisely. Because every smile is unique, the impressions capture the exact contours of your prepared teeth, ensuring the final veneers will align correctly with your bite and surrounding teeth.
The impressions are sent to a dental laboratory, where your custom veneers are fabricated according to the specifications from your dentist and the wax-up you approved. This part of the process takes time, which is why the procedure is spread across multiple appointments. While you wait for your permanent veneers, your dentist may discuss what happens next.
Step 5: Temporary Veneers, If Needed
Some dental practices place temporary veneers on your prepared teeth while your permanent veneers are being made. This step is not always required, but it can be useful. Temporaries protect your prepared teeth and give you a preview of the look and feel of your future smile. They also help you adjust to the sensation of having veneers before the final placement.
If your dentist recommends temporary veneers, they will be fitted during the same visit as your tooth preparation and impressions. Wearing temporaries also gives you the chance to test your new smile in everyday situations, such as talking and eating, before your permanent veneers arrive.
Step 6: Bonding and Final Placement
When your permanent veneers are ready, you will return to the dental office for the final placement. This appointment is the most exciting part of the procedure. Your dentist will first check the fit, shape, and color of each veneer against your prepared teeth. Any necessary adjustments are made before bonding begins.
To ensure a strong bond, your dentist will clean, polish, and etch your tooth again. This prepares the surface to receive the veneer. A special cement is then placed on the veneer, and it is positioned carefully on your tooth. The cement is cured, and the veneer is secured in place. Your dentist will make any final adjustments to ensure your bite feels comfortable and your smile looks natural.

Step 7: Follow-Up Appointment
The final step in the veneer procedure is the follow-up visit. This appointment allows your dentist to check how your veneers are settling and confirm that your gums and bite are responding well. Follow-up care is a routine part of the process and helps ensure the long-term success of your treatment.
If multiple teeth are involved, the procedure may require several sittings to complete. Your dentist will let you know whether you need additional appointments and what to expect at each stage. Regular follow-up also gives you a chance to ask questions about caring for your new veneers and maintaining your smile.
Understanding the dental veneer procedure steps before you begin can make the entire experience more comfortable. From the initial consultation to the final follow-up, each stage is designed to create a smile that looks natural and feels secure. If you are considering veneers, the first step is simply talking to your dentist about your goals and asking whether you are a good candidate for treatment.
Conclusion
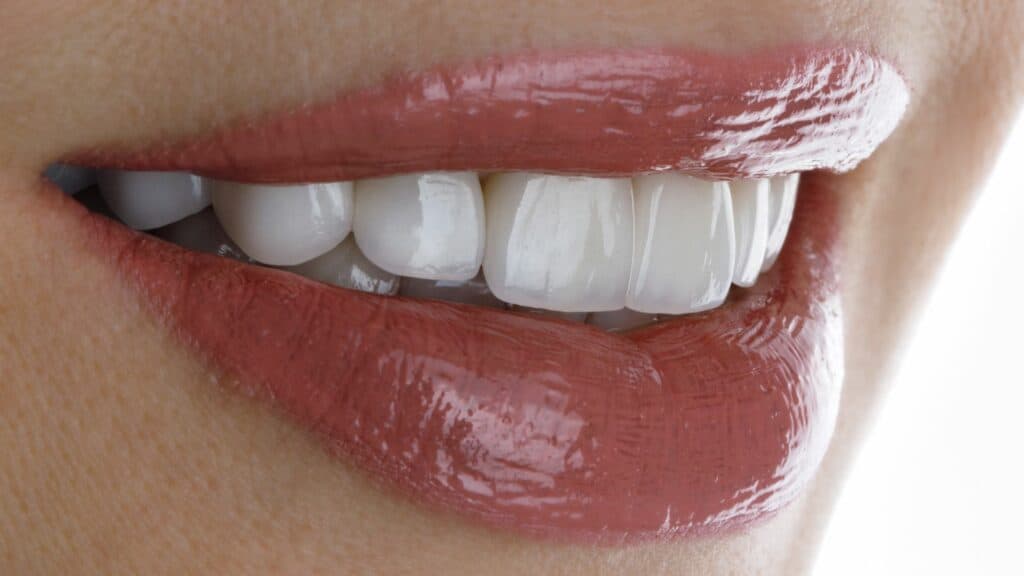
Understanding the dental veneer procedure steps can help you feel more confident about transforming your smile. From your initial consultation and smile design to the final placement, every stage is carefully planned to deliver natural-looking, long-lasting results. At Toothfully Yours, we are committed to helping you achieve a healthy, beautiful smile with personalized care and high-quality cosmetic dentistry. If you are ready to enhance the appearance of chipped, stained, or uneven teeth, schedule a consultation with Toothfully Yours today and take the first step toward the smile you have always wanted.
Frequently Asked Questions
How many dental visits does the veneer procedure require?
The number of visits depends on how many teeth are being treated. If multiple teeth are involved, the procedure may require several sittings to complete. A typical course includes an initial consultation, a preparation and impression appointment, and a final bonding appointment, with a follow-up visit after placement. Your dentist will outline a schedule based on your individual treatment plan.
Can veneers fix more than one cosmetic issue?
Yes. Veneers can address a range of cosmetic concerns at one time. They can conceal cracks and chips, close gaps in your smile, hide tooth discoloration or stains, reshape misshapen teeth, and improve the appearance of teeth that are too small. This makes them a versatile option for patients who want a complete smile makeover.
Is enamel removed for dental veneers?
Yes, small amounts of enamel are removed from the front surfaces of the teeth being treated. This prepares the tooth so the veneer can fit naturally and bond securely. After preparation, the tooth is cleaned, polished, and etched to create a strong surface for the veneer. The enamel removal is done with care to protect the health of your tooth.
Why do some patients receive temporary veneers?
Temporary veneers may be placed after tooth preparation while the permanent veneers are being made. They protect the prepared teeth and give you a preview of your final smile. Not every patient needs temporaries, but your dentist will recommend them if they are beneficial for your treatment. They help you adjust to your new smile before final placement.